
Buy Lists: Streamline Your Purchasing with Requisition Lists
Using a requisition list helps you save time by allowing you to add frequently ordered products directly to your shopping cart. GrowGeneration’s requisition lists let you manage multiple lists based on vendors, teams, campaigns, or any other categories that enhance your workflow.
Why Use a Requisition List?
- Reusable: A requisition list remains intact after sending items to the cart, so it can be used multiple times.
- Compact Interface: The user interface displays many items in a streamlined, space-efficient view.
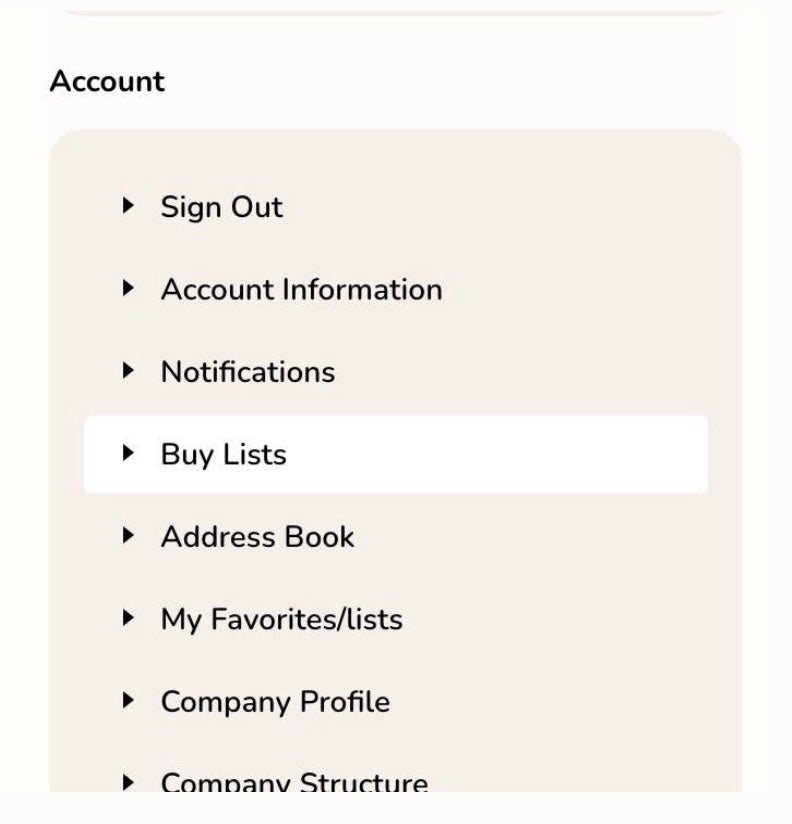
How to Create a Requisition List from Your Account Dashboard
- In the sidebar of your account, go to My Requisition Lists.
- On the Requisition Lists page, click Create New Requisition List.
- Enter a descriptive Requisition List Name and Description.
- Click Create to save the new requisition list.
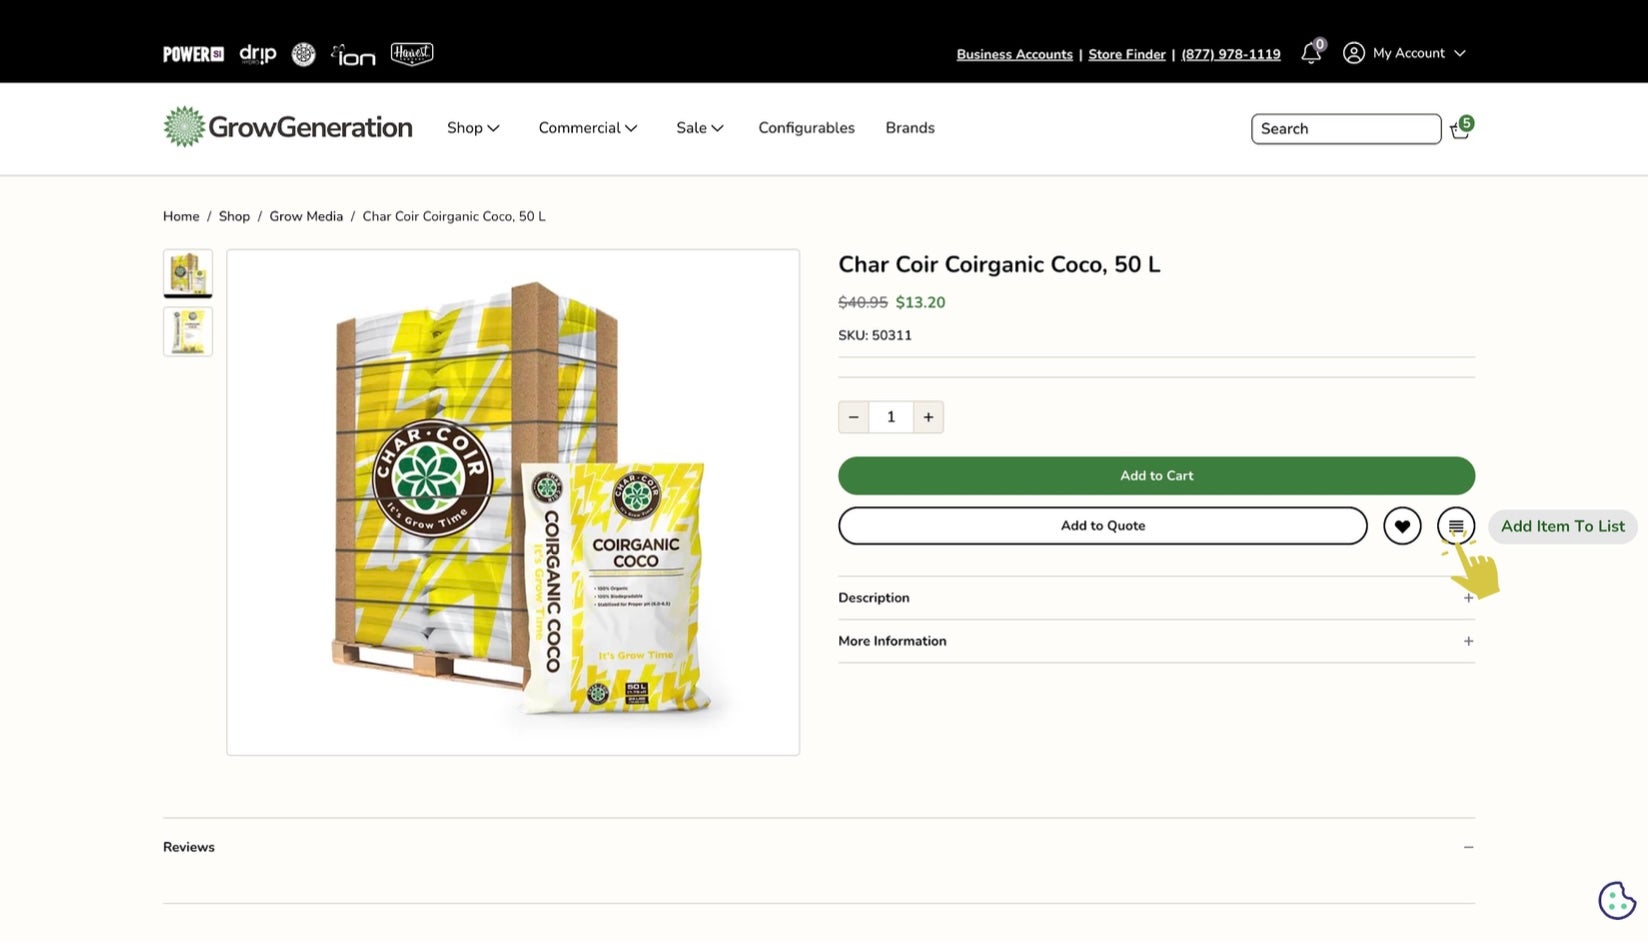
Creating or Adding Products to a Requisition List from a Product Page
- On the product detail page, click Add to Requisition List.
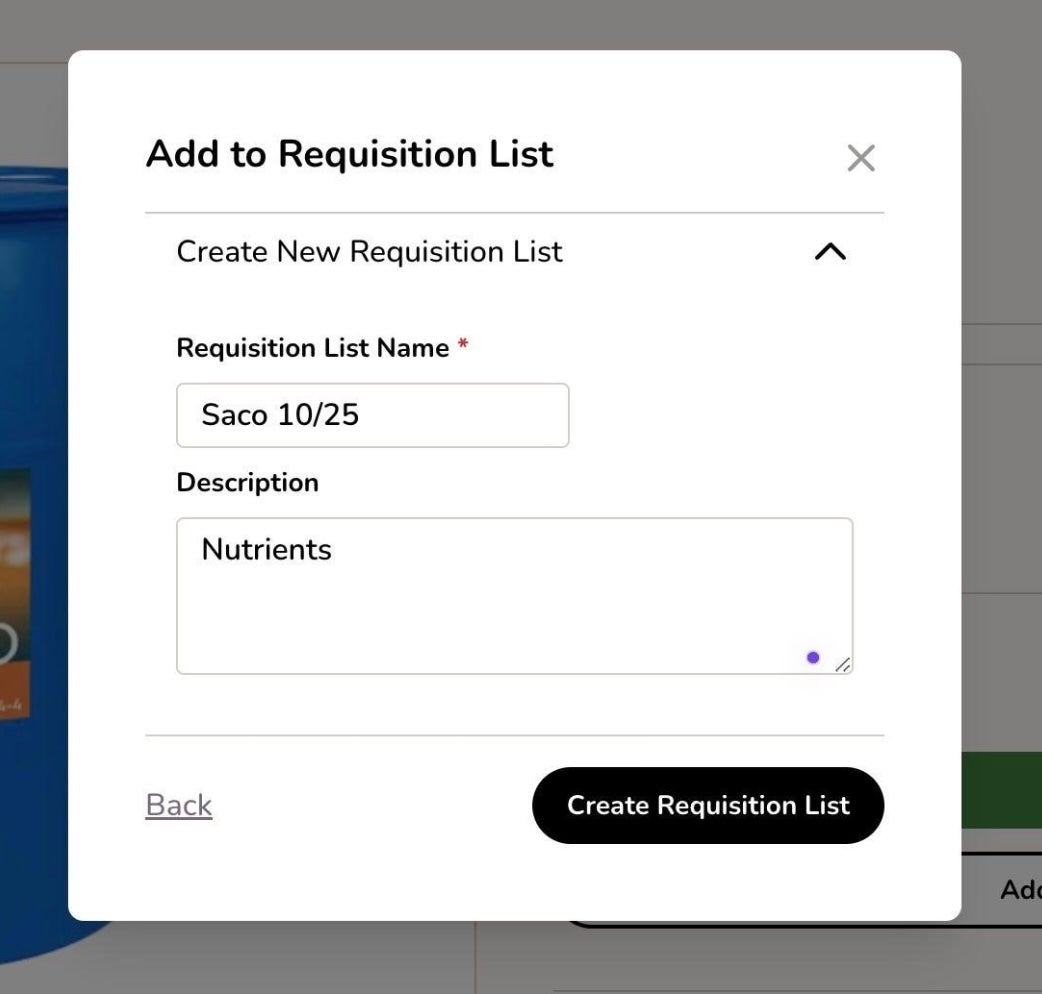
- Select Create New Requisition List or choose an existing list.
- Enter a Requisition List Name and Description.
- Click Save to add the product to the list.
Additional Ways to Add Products to a Requisition List
GrowGeneration offers flexibility in managing your requisition lists. Add products through:
- Product Pages: Use the method described above to add directly from a product page.
- Shopping Cart: Add individual products or the entire cart contents to a requisition list.
Buy Lists: Streamline Your Purchasing with Requisition Lists
Using a requisition list helps you save time by allowing you to add frequently ordered products directly to your shopping cart. GrowGeneration’s requisition lists let you manage multiple lists based on vendors, teams, campaigns, or any other categories that enhance your workflow.
Why Use a Requisition List?
- Reusable: A requisition list remains intact after sending items to the cart, so it can be used multiple times.
- Compact Interface: The user interface displays many items in a streamlined, space-efficient view.
How to Create a Requisition List from Your Account Dashboard
- In the sidebar of your account, go to My Requisition Lists.
- On the Requisition Lists page, click Create New Requisition List.
- Enter a descriptive Requisition List Name and Description.
- Click Create to save the new requisition list.
Creating or Adding Products to a Requisition List from a Product Page

- On the product detail page, click Add to Requisition List.
- Select Create New Requisition List or choose an existing list.
- Enter a Requisition List Name and Description.
- Click Save to add the product to the list.
Additional Ways to Add Products to a Requisition List
GrowGeneration offers flexibility in managing your requisition lists. Add products through:
- Product Pages: Use the method described above to add directly from a product page.
- Shopping Cart: Add individual products or the entire cart contents to a requisition list.
Quotes: How-To Guide
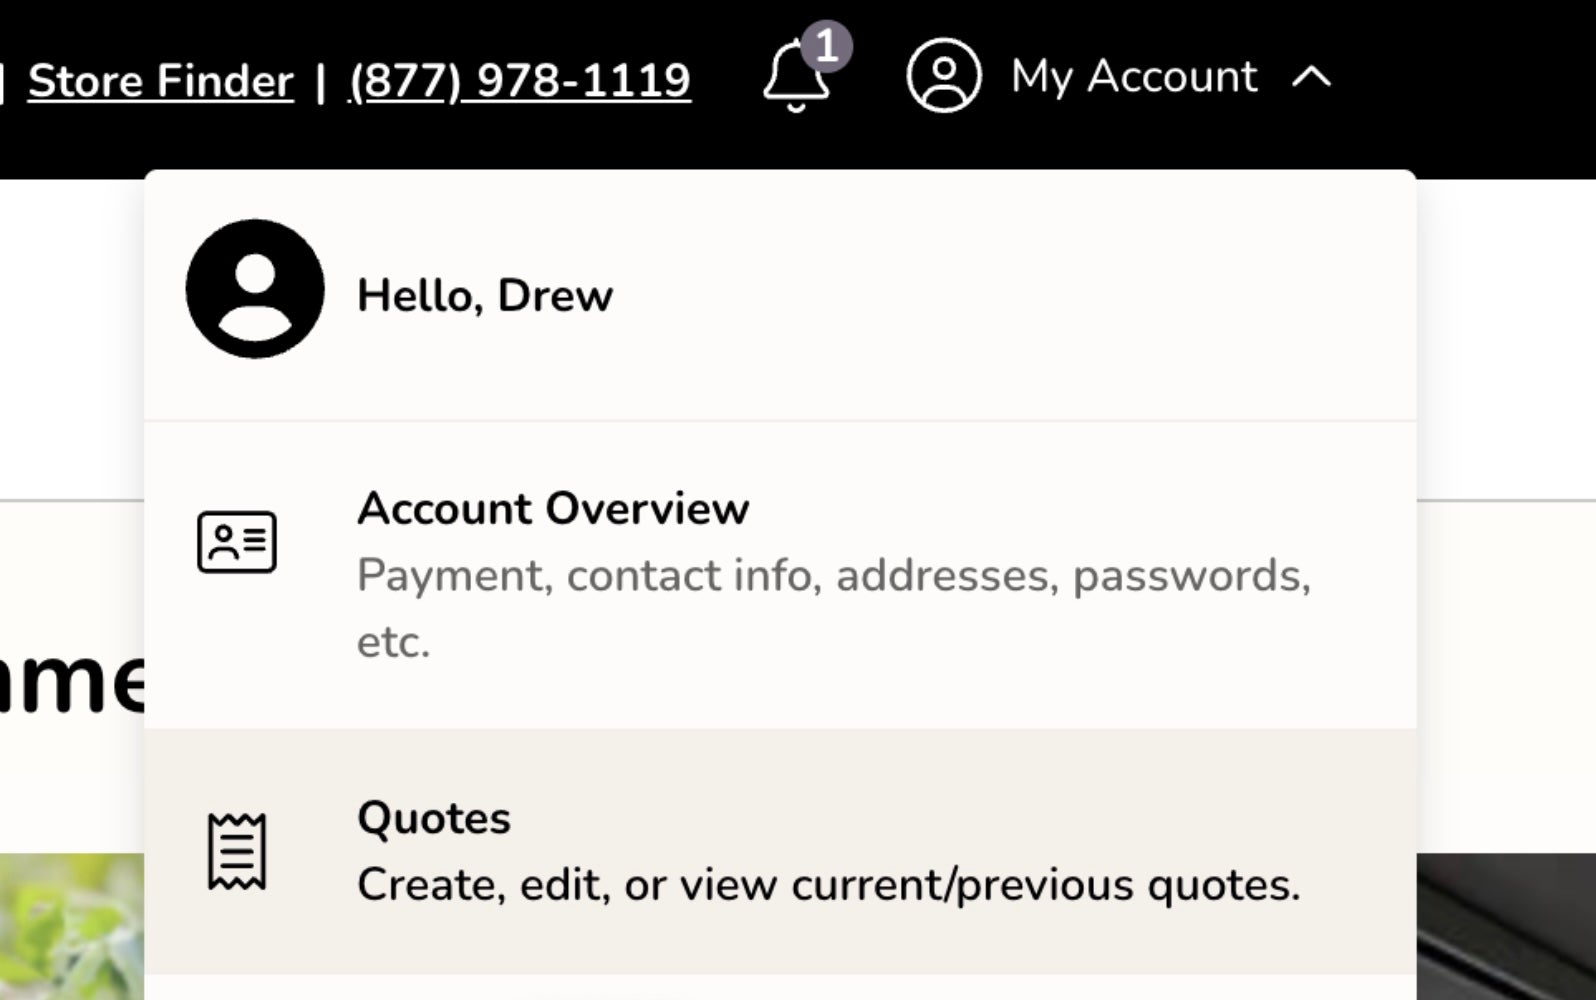
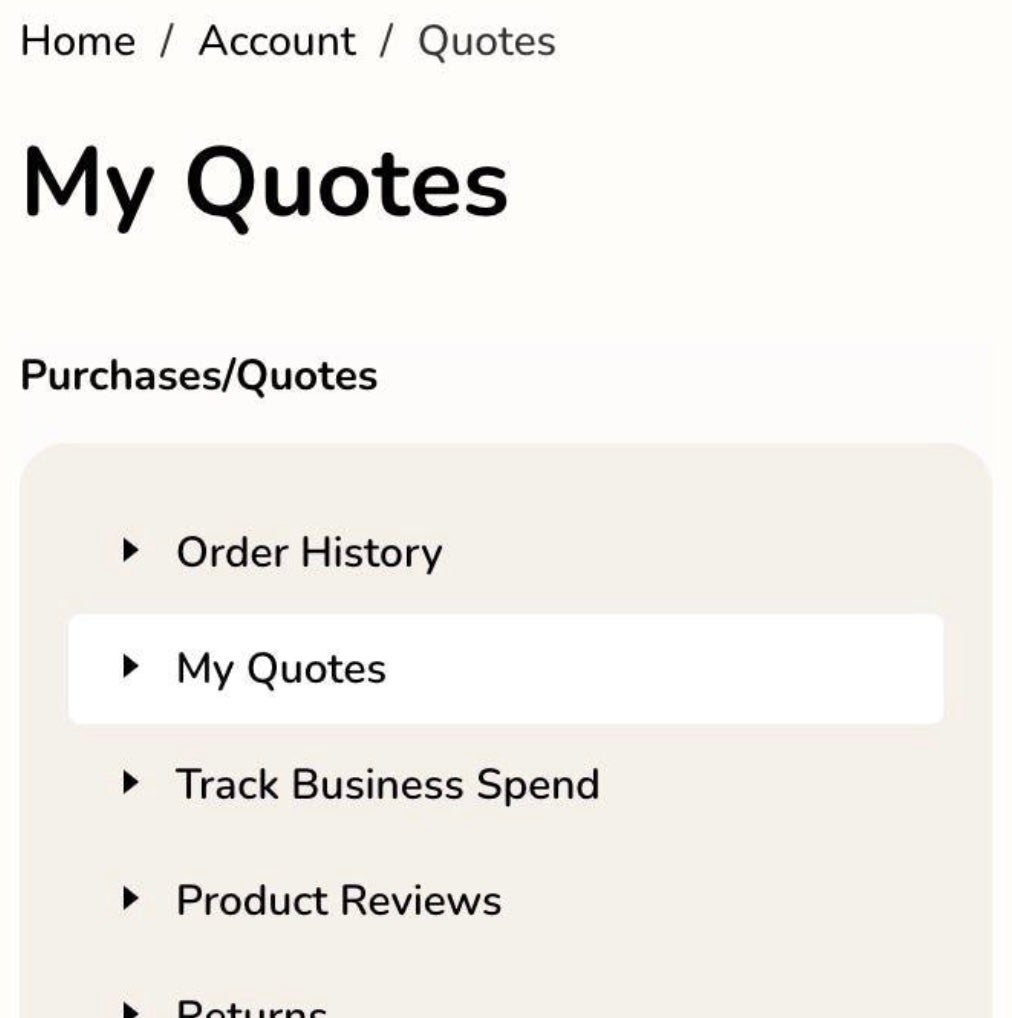
Access your quotes from the “My Account” page or the profile dropdown menu. Authorized company users and assigned sales representatives can initiate and manage quotes.
Quote Submission Process

Quotes are created and managed through the following process:
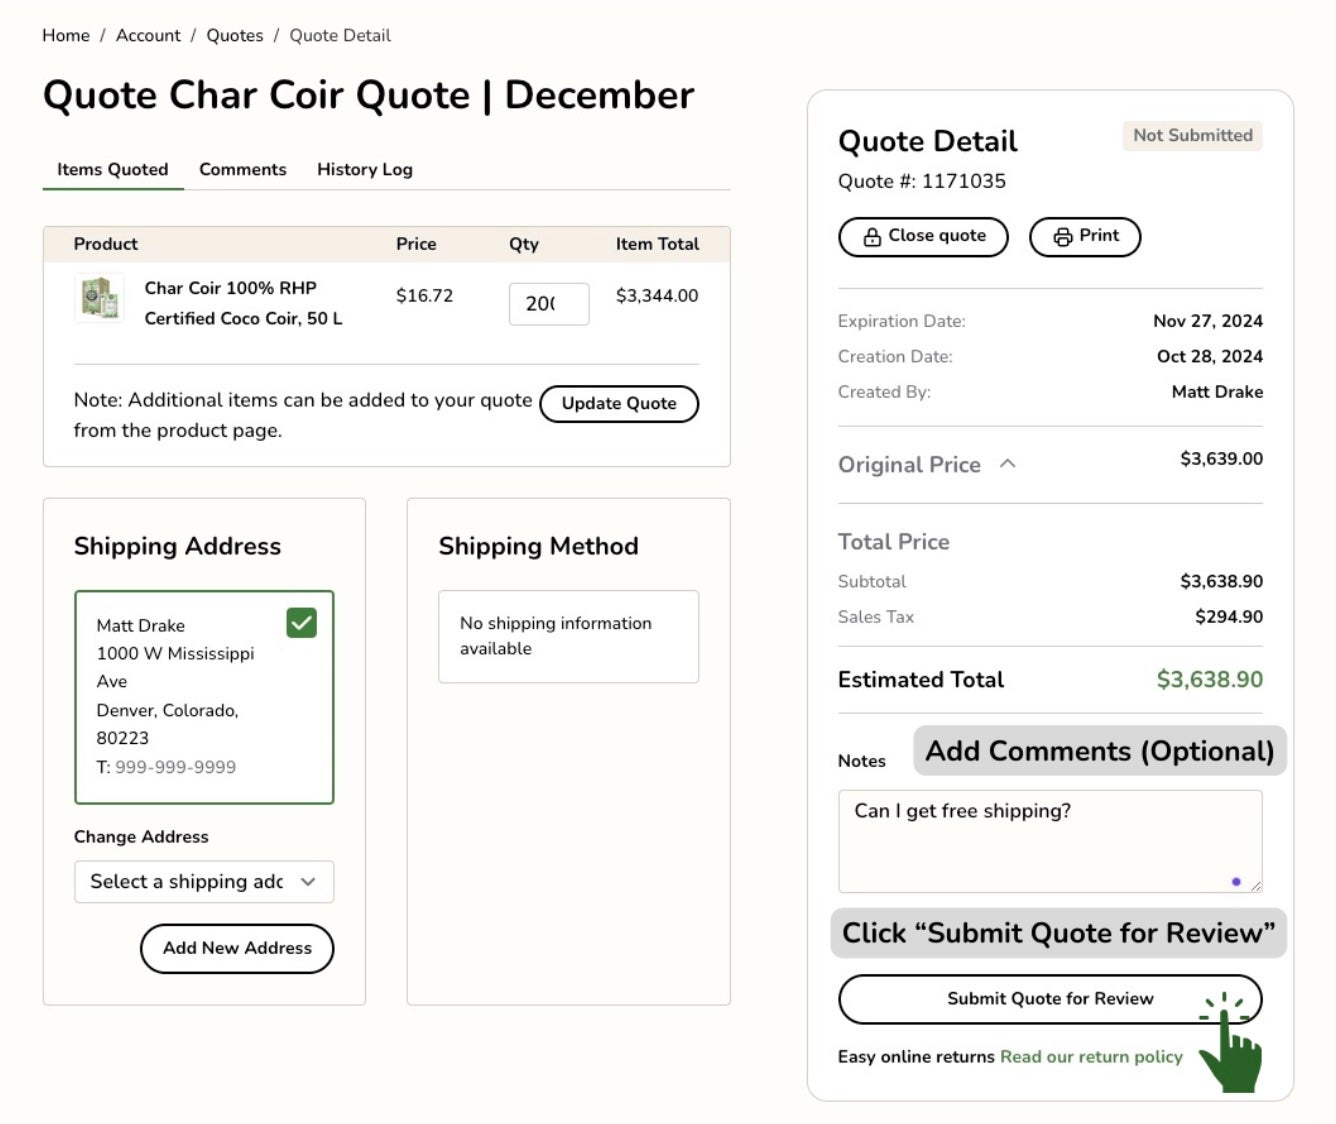
- Quote Creation: A buyer can populate the shopping cart or build a quote directly from product pages. Once ready, select Submit Quote for Review, enter the quote name, and optionally add comments or attachments.
- Quote Submission: Upon submission, the quote request appears in the buyer’s My Quotes list, and an email notification is sent to the assigned sales representative.
Managing Your Quotes
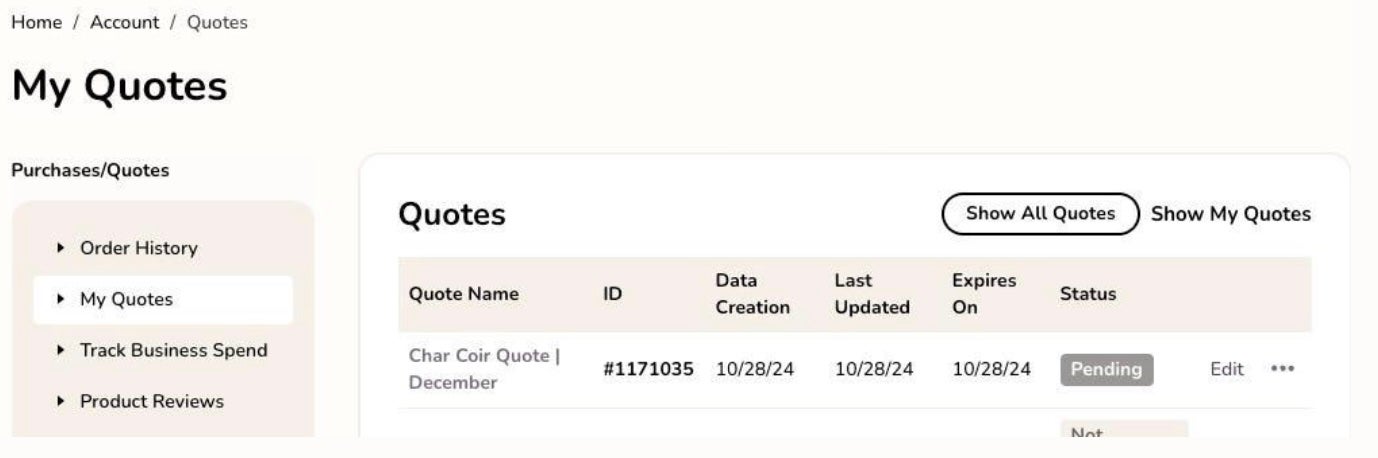
Once a quote has been submitted, buyers can manage the ongoing negotiation process from their account dashboard.
- Notifications are sent via email and in the "notifications" area whenever the quote is updated by the sales rep.
- Select View under the Actions column to open and review the quote.
- Review any discounts offered by the sales rep, such as a percentage discount off the list price. Buyers can either proceed with the quote or submit it back for further negotiation.
Interacting with Your Quote
Additional actions can be taken once the quote is received back from the sales representative:
- Leave a Note: Add comments on individual items or on the overall quote.
- Proceed to Checkout: If satisfied with the quote, click Proceed to Checkout at the bottom of the page.
- Important Notes: Changing item quantities or the shipping address will require further review by your sales rep before checkout can proceed. Changing the shipping address during checkout will void the quoted pricing.
Quote Submission Workflow
The step-by-step workflow for quote submission includes:
- Buyer populates shopping cart or builds a quote from a product page.
- Select Submit Quote For Review and enter the quote name.
- Quote request is sent to the buyer’s account dashboard and sales representative for review.
- Sales rep responds with updated pricing or comments, and the buyer receives notifications via email and the dashboard.
- Buyer can then accept the quote, proceed to checkout, or submit additional feedback.